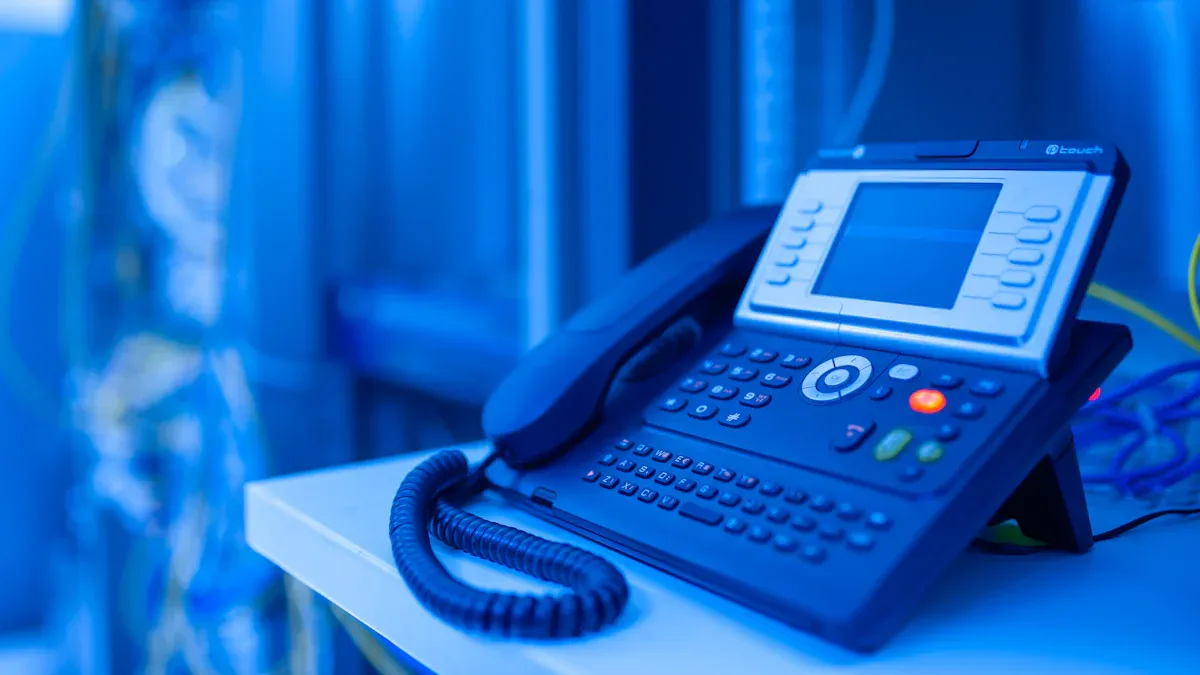
A Rugged Emergency Telephone Handset gives you a reliable way to call for help in tough situations. You need to keep it in good shape for it to work when you need it most.
Tip: Regular care helps your handset last longer and perform better.
Key Takeaways
- Regularly clean and inspect your emergency handset to spot and fix problems early, ensuring it works when you need it most.
- Always follow safety rules and use the right tools during installation to keep your handset secure and reliable.
- Test your handset after installation and storms, and call a professional if you notice serious damage or persistent issues.
Rugged Emergency Telephone Handset Pre-Installation Checklist
Essential Tools for Installation
You need the right tools to install your Rugged Emergency Telephone Handset. Gather these items before you start:
- Screwdrivers (Phillips and flathead)
- Adjustable wrench
- Strippers e cortadores de arame
- Drill with bits for mounting
- Nível
- Voltage tester
Tip: Keep all your tools in one place. This helps you work faster and avoid losing anything.
Preparing the Installation Site
Choose a spot that is easy to reach in an emergency. Make sure the area is clean and dry. Remove any dust, dirt, or debris from the wall or surface. Check that the wall can support the weight of the handset and enclosure. If you install the handset outdoors, look for a place with some shelter from rain or direct sunlight.
- Clear the area of obstacles.
- Mark the mounting points with a pencil.
- Confirm there is access to power and communication lines.
Safety and Code Compliance
You must follow safety rules to protect yourself and others. Turn off power before you start working with wires. Wear gloves and safety glasses. Check local building codes for any special rules about emergency phones. Some places require special mounting heights or weatherproof enclosures.
Note: Following codes keeps your installation safe and legal.
Rugged Emergency Telephone Handset Installation Guide

Securely Mounting the Handset and Enclosure
Start by holding the enclosure against the wall at your marked points. Use a level to make sure the enclosure sits straight. Drill holes at the marked spots. Insert wall anchors if you mount the handset on drywall or another soft surface. Place the enclosure back and use screws to fasten it tightly. The enclosure should not move when you tug on it.
Next, attach the Rugged Emergency Telephone Handset to the enclosure. Most models have a cradle or bracket. Secure the handset using the provided hardware. Double-check that the handset hangs properly and does not fall out of the cradle.
Tip: Always use the screws and anchors that come with your handset. These parts are designed to handle the weight and stress of emergency use.
Connecting Power, Ethernet, or Telephone Lines
You need to connect the right cables for your handset to work. Look at the manual for your model to find out which cables you need. Most handsets use one or more of these:
- Power cable (for electric supply)
- Ethernet cable (for network connection)
- Telephone line (for direct phone service)
Siga estas etapas:
- Turn off the power before you touch any wires.
- Strip the ends of each wire if needed.
- Connect each wire to the correct terminal or port. The manual will show you where each wire goes.
- Tighten all screws or clamps to keep wires secure.
- Bundle extra wire neatly with cable ties.
Note: Loose wires can cause problems. Always check that every connection feels tight and secure.
Performing Initial System Testing
After you finish the installation, you need to test the system. This step helps you catch problems before an emergency happens.
- Turn on the power.
- Pick up the handset and listen for a dial tone.
- Make a test call to check sound quality and connection.
- If your handset uses a network, check the indicator lights for a good connection.
- Test any extra features, such as emergency buttons or alarms.
If you find any issues, check your connections again. Make sure the enclosure is closed and sealed, especially if you installed the handset outdoors.
Callout: Always test your Rugged Emergency Telephone Handset after instalação. This step ensures you can rely on it when you need help.
Rugged Emergency Telephone Handset Routine Maintenance
Cleaning and Visual Inspection
You should clean your Rugged Emergency Telephone Handset regularly. Dust, dirt, and grime can build up on the handset and enclosure. Use a soft, damp cloth to wipe down all surfaces. Avoid using harsh chemicals or abrasive pads. These can damage the finish or make the buttons hard to press.
Look closely at the handset and enclosure. Check for cracks, loose parts, or signs of wear. Make sure the buttons move smoothly and the cord is not frayed. If you see any damage, fix it right away.
Tip: Set a reminder to clean and inspect your handset once a month. Regular checks help you spot problems before they get worse.
Checking All Connections and Cables
Loose or damaged cables can stop your emergency phone from working. You need to check every connection. Gently tug on each cable to make sure it is secure. Look for any cuts, kinks, or exposed wires. If you find a problem, replace the cable or tighten the connection.
Use this checklist to help you:
- Inspect the power cable for wear or damage.
- Check the telephone or Ethernet cable for secure connections.
- Make sure all screws and clamps hold the wires tightly.
- Bundle extra cable neatly to prevent tripping or pulling.
Note: Never ignore a loose or damaged cable. Even a small problem can cause the phone to fail during an emergency.
Verifying Power Supply and Battery Status
Your emergency handset needs a steady power supply. If your model uses a battery backup, you must check the battery often. Look for a power indicator light on the enclosure. If the light is off or blinking, you may have a power issue.
Follow these steps to check the power and battery:
- Confirm the power cord is plugged in and the outlet works.
- Test the handset by making a quick call.
- If your handset has a battery, press the test button if available.
- Replace the battery if it does not hold a charge or if the indicator shows low power.
Callout: Always use the battery type recommended by the manufacturer. The wrong battery can damage your Rugged Emergency Telephone Handset or cause it to fail.
Troubleshooting Rugged Emergency Telephone Handset Issues

Resolving No Dial Tone or Communication Failure
If you pick up your Rugged Emergency Telephone Handset and hear no dial tone, start by checking the basics. Make sure the power is on and the cables are secure. Look at the indicator lights. If they are off, you may have a power problem. Try plugging another device into the same outlet to test it. If your handset connects to a network, check the Ethernet or telephone line for damage.
Tip: Always test the handset after storms or power outages. These events can cause hidden problems.
If you still have no dial tone, reset the handset if your model allows it. Some handsets have a small reset button. Press it with a paperclip and wait a few seconds. If the problem continues, you may need to replace a cable or call for help.
Addressing Physical or Environmental Damage
Look for cracks, dents, or broken parts on the handset and enclosure. If you see damage, fix it right away. Replace broken cords or covers. Tighten any loose screws. Clean away dirt or debris that could block the buttons or speaker.
- Check the cord for fraying.
- Inspect the enclosure for water or dust inside.
- Make sure the handset fits snugly in its cradle.
Note: Quick repairs help prevent bigger problems later.
Handling Weather-Related or Outdoor Problems
Outdoor handsets face rain, snow, and heat. Check the seals and gaskets around the enclosure. Make sure no water leaks inside. Wipe away any moisture you find. In cold weather, look for ice buildup. Remove it gently to avoid damage.
If you live in a hot area, shade the handset if possible. High heat can weaken plastic parts. Regular checks help you spot weather damage early.
Callout: Protect your Rugged Emergency Telephone Handset from harsh weather to keep it working when you need it most.
When to Call a Professional for Rugged Emergency Telephone Handset Service
Sometimes, you may face problems that you cannot fix on your own. Knowing when to call a professional helps you keep your emergency phone working at its best. If you see any of these signs, you should contact a trained technician:
- You notice water inside the enclosure or see rust on metal parts.
- The phone does not work after you check all cables and power sources.
- You hear strange noises, static, or buzzing during calls.
- The buttons or speaker stop working, even after cleaning.
- The enclosure or mounting hardware feels loose or damaged.
- You see exposed wires or smell burning plastic.
Tip: If you feel unsure about any repair, always ask for help. Safety comes first.
A professional can test the system with special tools. They can replace damaged parts and make sure your phone meets safety codes. You also need a technician if your phone is part of a larger emergency system or connects to alarms. Some repairs require special training or parts that only a professional can provide.
You should also schedule regular inspections by a certified technician. These checks help prevent problems before they start. Keeping your emergency phone in top shape means you can trust it when you need help most.
You can keep your emergency phone ready by following these steps. Clean and inspect it often. Test the system after storms. Fix small problems right away. Regular care helps you avoid bigger issues.
Remember: A working emergency phone gives you peace of mind in any situation.
FAQ
How often should you check your Rugged Emergency Telephone Handset?
You should check your Rugged Emergency Telephone Handset every month. Regular checks help you find problems early and keep your emergency phone ready.
What should you do if your Rugged Emergency Telephone Handset gets wet?
Dry your Rugged Emergency Telephone Handset right away. Open the enclosure if possible. Wipe all parts with a soft cloth. Test the phone after drying.
Can you install a Rugged Emergency Telephone Handset outdoors?
Yes, you can install a Rugged Emergency Telephone Handset outdoors. Make sure you use a weatherproof enclosure. Check the seals often to keep water out.
Tip: Always follow the manufacturer’s instructions when you install or maintain your Rugged Emergency Telephone Handset. This helps you avoid damage and keeps your phone working.


