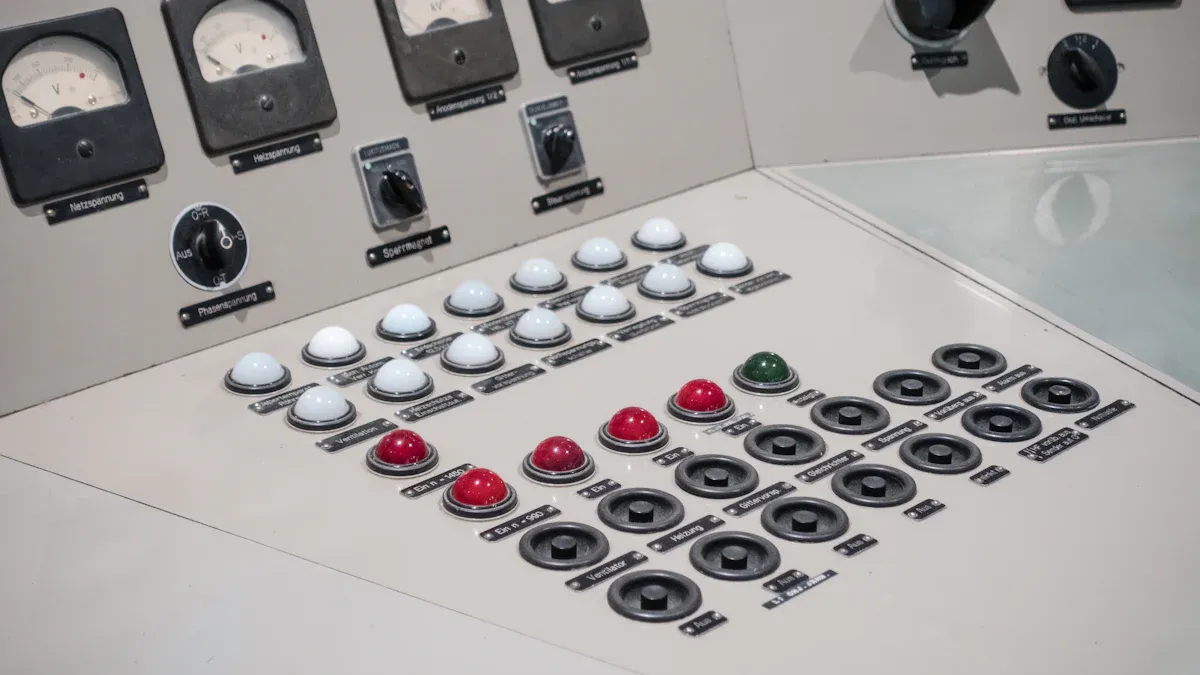
You need the right tools and knowledge for a reliable industrial keypad setup. Clean your keypad often. Use the Zinc Alloy Illuminated Keypad in harsh places for better results. Test your keypad after installing it. Regular checks help you spot problems early. Follow safety steps to keep your device working well.
Key Takeaways
- Choose an industrial keypad that fits your work environment by checking its protection level, durability, and ease of use with gloves.
- Prepare well before installation by assessing the site, gathering tools, and following safety steps to ensure a smooth and safe setup.
- Keep your keypad working well by cleaning it regularly, updating its software, and inspecting it often to catch problems early.
Industrial Keypad Selection

Choosing the Right Industrial Keypad
You need to start by understanding your work environment. Some places have dust, water, or chemicals. Others need keypads that work in very hot or cold temperatures. You should look for a keypad that matches these conditions.
Here are some questions to help you choose:
- Do you need a keypad that resists water or dust?
- Will people use gloves when pressing the keys?
- Does your site have strong vibrations or shocks?
Tip: Always check the keypad’s IP rating. A higher number means better protection against dust and water.
Key Features and Application Matching
You should match the features of the keypad to your job needs. Some keypads have backlighting for dark areas. Others use strong materials like stainless steel or zinc alloy for extra durability.
| Feature | Benefit | Best For |
|---|---|---|
| Backlighting | Easy to see in low light | Night shifts, dark sites |
| Metal Housing | Strong and long-lasting | Factories, outdoors |
| Large Buttons | Easy to press with gloves | Cold storage, workshops |
You can find an industrial keypad with special functions, like programmable keys or extra security. Always think about how the keypad will connect to your control system. This helps you avoid problems later.
Industrial Keypad Installation Preparation
Site Assessment and Planning
You should start by checking the area where you want to install your industrial keypad. Look for a spot that stays dry and clean. Make sure the location is easy for workers to reach. Check if the surface is flat and strong enough to hold the keypad. You should also look for power sources nearby. If you plan well, you can avoid problems during installation.
Tip: Draw a simple map of the site. Mark where you want to place the keypad and where the wires will go.
Tools and Materials Needed
Gather all your tools before you begin. This step saves you time and helps you work safely. Here is a list of common tools and materials:
- Screwdrivers (flathead and Phillips)
- Drill and drill bits
- Screws and wall anchors
- Wire strippers and cutters
- Electrical tape
- Mounting brackets
- Cleaning cloth
You may need extra items if your industrial keypad has special features. Always check the manual for a full list.
Safety Guidelines
Safety comes first. Turn off the power before you start working with wires. Wear gloves and safety glasses to protect your hands and eyes. Keep your work area clean to prevent slips or trips. Never rush the job. If you feel unsure, ask a trained electrician for help.
Note: Following safety rules keeps you and your equipment safe.
Industrial Keypad Installation Process
Mounting and Positioning
You need to mount your industrial keypad in a spot that workers can reach easily. Choose a flat and sturdy surface. Use a level to make sure the keypad sits straight. Mark the mounting holes with a pencil before you drill. Secure the keypad with the right screws and anchors. If you install the keypad outdoors, use a weatherproof cover for extra protection.
Tip: Place the keypad at a height that matches the average user’s waist or chest. This makes it comfortable for most people to use.
Check that nothing blocks the keypad. Avoid placing it near moving equipment or in areas with heavy foot traffic. Good positioning helps prevent accidental damage and keeps the keypad safe.
Wiring and Electrical Connections
You must connect the wires correctly for the keypad to work. Start by turning off the power. Strip the wire ends and match each wire to the correct terminal. Most keypads have labels for each connection. Use a screwdriver to tighten the terminals. Wrap electrical tape around any exposed wires.
- Double-check each connection before you turn the power back on.
- Use cable ties to keep wires neat and out of the way.
- If your keypad uses a power adapter, plug it into a safe and dry outlet.
Note: Always follow the wiring diagram in the manual. If you feel unsure, ask a licensed electrician for help.
Integration with Control Systems
You need to connect the industrial keypad to your control system. This step lets the keypad send signals to open doors, start machines, or trigger alarms. Use the right communication cable, such as RS232, RS485, or USB, based on your system.
| Connection Type | Common Use | Notes |
|---|---|---|
| RS232 | Simple devices | Short distances |
| RS485 | Multiple devices | Longer distances |
| USB | Modern systems | Plug-and-play support |
Check the manual for the correct settings. Set the keypad address or ID if needed. Test the connection by pressing a key and watching for a response from the control system.
Initial Testing and Configuration
After you finish the installation, you need to test the keypad. Turn on the power and press each button. Make sure every key works. Check the backlighting if your keypad has it. Try using the keypad with gloves if workers will do so.
Set up any special features, such as access codes or programmable keys. Save your settings. If you see any problems, check the wiring and connections again.
Alert: Never skip the testing step. Early testing helps you find and fix problems before they affect your operation.
Industrial Keypad Maintenance and Care

Cleaning Procedures
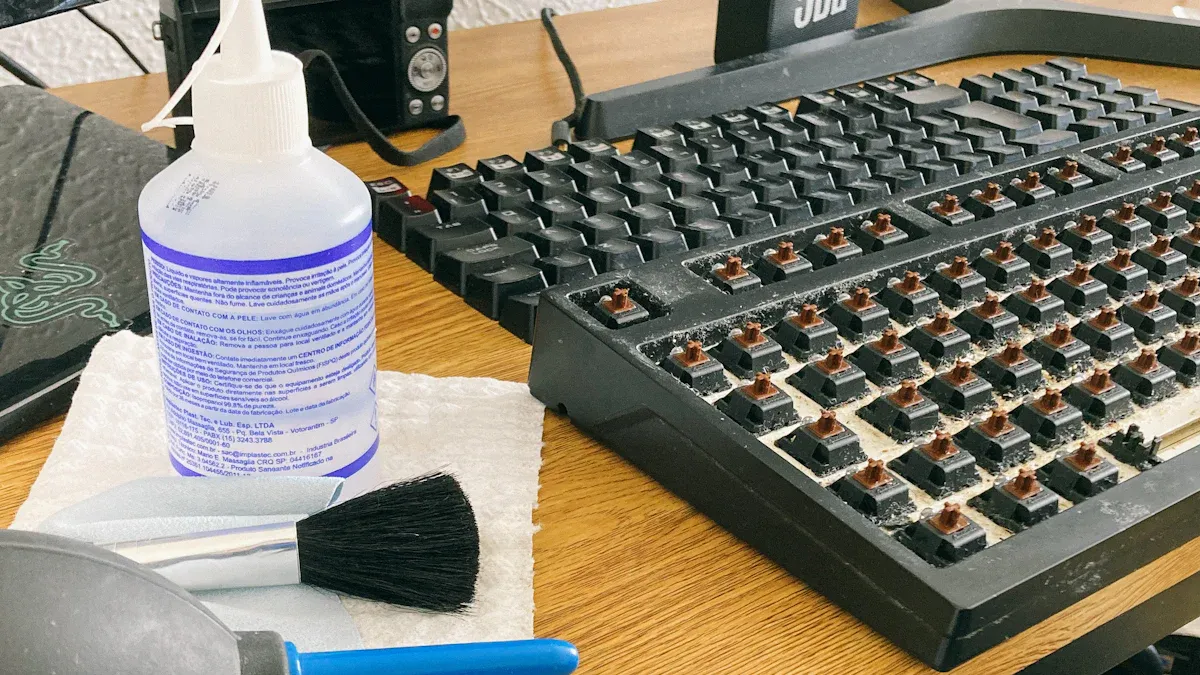
You need to keep your industrial keypad clean to make sure it works well. Dust, dirt, and grease can build up on the keys. This buildup can cause the buttons to stick or stop working. You should clean the keypad at least once a week in busy areas.
Follow these steps for safe cleaning:
- Turn off the power before you start.
- Use a soft, damp cloth to wipe the surface. Do not use too much water.
- For tough spots, use a mild soap solution. Avoid harsh chemicals.
- Dry the keypad with a clean, dry cloth.
- Check for any signs of damage while you clean.
Tip: Use a small brush to clean around the edges of the keys. This helps remove dust that a cloth cannot reach.
Software and Firmware Updates
You should keep the software and firmware of your keypad up to date. Updates can fix bugs and add new features. They also help protect your system from security risks.
Here is how you can update your keypad:
- Check the manufacturer’s website for the latest updates.
- Download the update files to your computer.
- Follow the instructions in the manual to connect your keypad to the computer.
- Run the update program and wait for it to finish.
- Restart the keypad and test all functions.
Alert: Never turn off the power during an update. This can damage the keypad.
Routine Inspections and Preventive Checks
You need to inspect your keypad often. Regular checks help you find problems before they get worse. Look for loose screws, worn-out keys, or faded labels. Make sure all wires stay secure and dry.
Use this checklist for your inspections:
| Inspection Task | What to Look For | Action Needed |
|---|---|---|
| Keypad surface | Dirt, cracks, or wear | Clean or replace |
| Buttons | Sticking or slow response | Clean or repair |
| Wiring | Loose or frayed wires | Tighten or replace |
| Mounting | Loose screws or brackets | Tighten or adjust |
Note: Write down your inspection results. This record helps you track the keypad’s condition over time.
Troubleshooting and Repairs
Sometimes, your industrial keypad may stop working as expected. You can solve many problems with simple steps.
Common issues and solutions:
- Keypad does not respond: Check the power supply and wiring.
- Some keys do not work: Clean the keypad and check for stuck buttons.
- Display or lights do not work: Inspect the backlight or replace the bulbs if needed.
- Error messages: Look up the error code in the manual.
If you cannot fix the problem, contact the manufacturer or a trained technician. Do not try to repair complex issues yourself.
Tip: Keep spare parts like buttons and fuses on hand. Quick repairs help reduce downtime.
You help your keypad last longer when you set it up right and care for it often. Good care means fewer problems and better performance. If you see issues you cannot fix, call a professional. Regular checks keep your equipment safe and working well.
FAQ
How often should you clean your industrial keypad?
You should clean your keypad once a week. In dusty or oily places, clean it more often for best performance.
What should you do if some keys stop working?
Try cleaning the keypad first. If keys still do not work, check the wiring. Replace damaged parts if needed.
Can you install an industrial keypad outdoors?
Yes, you can. Choose a keypad with a high IP rating. Use a weatherproof cover for extra protection from rain and dust.


