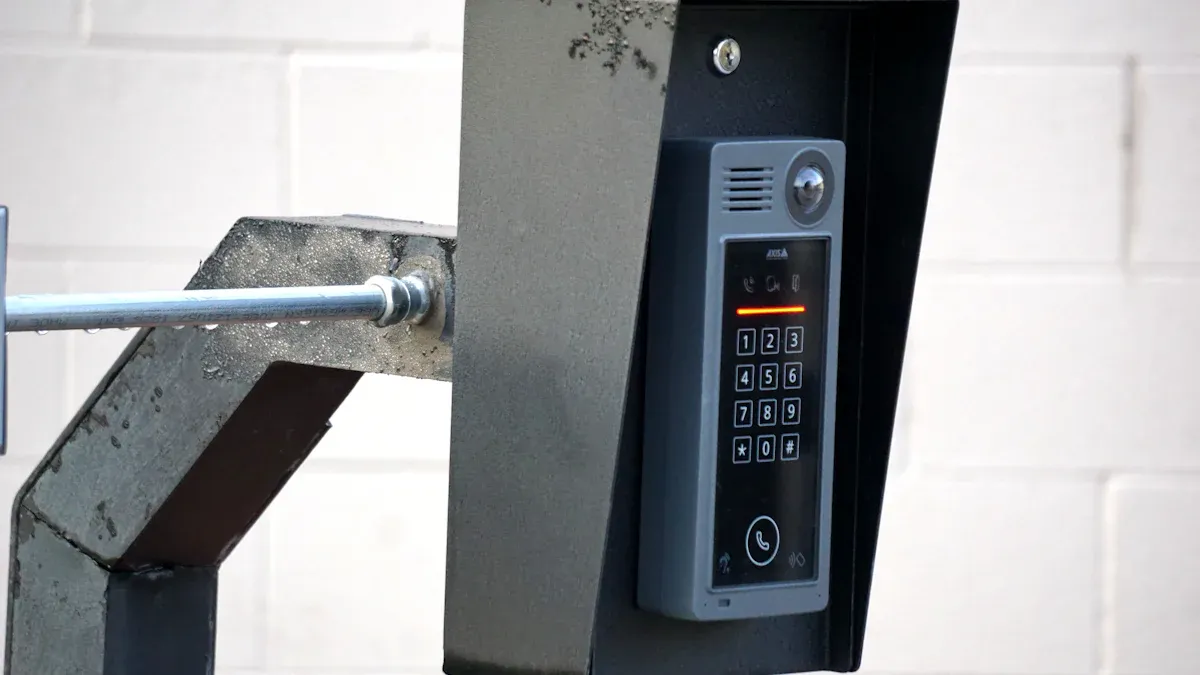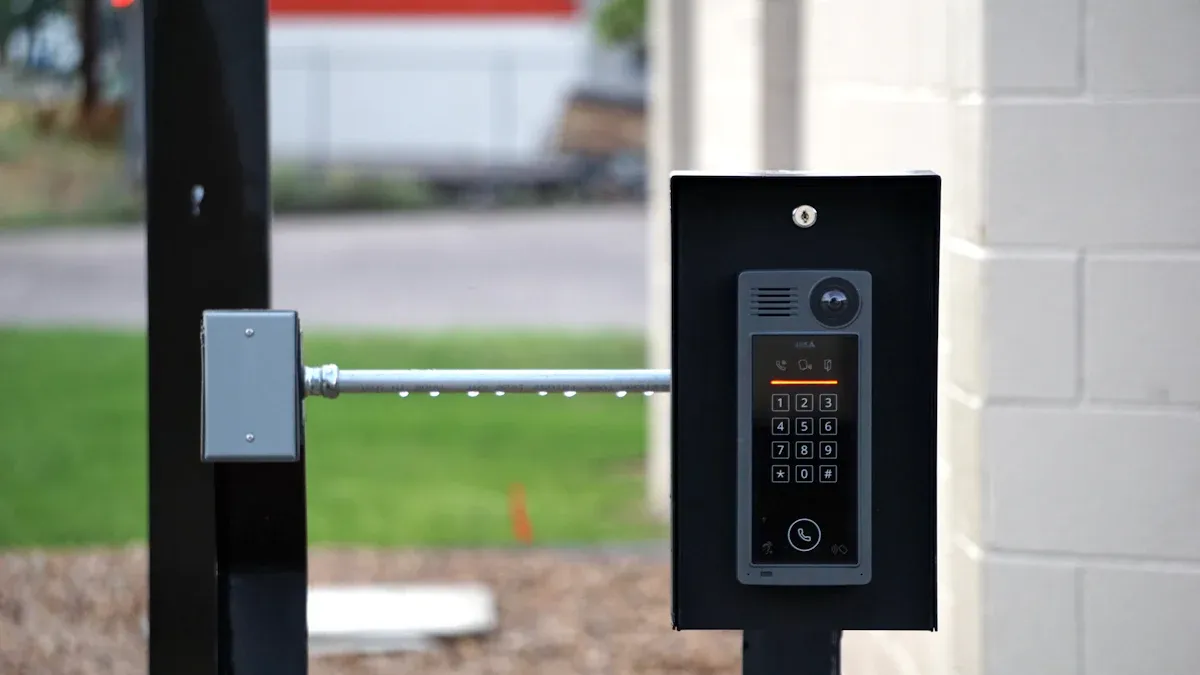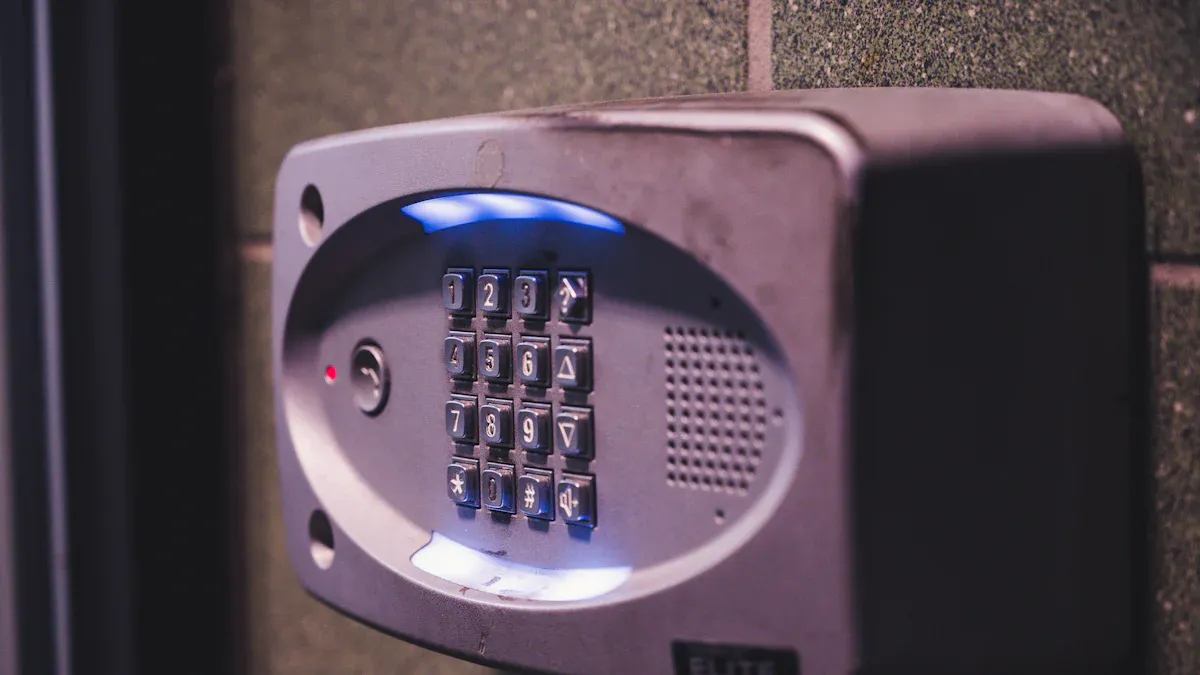
You need careful planning when you install a 12 Keys Industrial Outdoor Keypad. Secure mounting keeps the device stable. Precise wiring helps prevent malfunctions. Always test your keypad after setup. This process protects your property and gives you reliable access control in outdoor environments.
Key Takeaways
- Gather all tools and check the installation site before starting to ensure a smooth and safe setup.
- Mount the keypad securely, follow wiring instructions carefully, and always turn off power during installation to avoid accidents.
- Test the keypad thoroughly after setup and perform regular maintenance to keep your access control system reliable and long-lasting.
Preparation for Installing a 12 Keys Industrial Outdoor Keypad

Tools and Materials Needed
Before you start, gather all the tools and materials you need. This step helps you avoid delays during installation. You will need:
- A drill with bits for mounting
- Screwdrivers (flathead and Phillips)
- Wire strippers and cutters
- Electrical tape
- Screws and wall anchors
- A multimeter for testing
- The 12 Keys Industrial Outdoor Keypad
- User manual and wiring diagram
Tip: Keep your tools organized in a toolbox. This makes your work faster and safer.
Site Assessment and Compatibility Check
Choose the best location for your keypad. Look for a spot that is easy to reach but not exposed to direct rain or sunlight. Check the surface where you plan to mount the keypad. Make sure it is flat and strong. Review the wiring path from the keypad to the control panel or door lock. Measure the distance to ensure your wires will reach.
Check if your access control system supports a 12 Keys Industrial Outdoor Keypad. Read the user manual to confirm compatibility. If you have an existing system, compare the wiring diagrams.
Safety Guidelines
Safety comes first. Turn off the power before you start any wiring. Wear safety gloves and goggles to protect yourself. Avoid working in wet conditions. Use a ladder safely if you need to reach high places. Double-check all connections before turning the power back on.
Note: If you feel unsure about electrical work, contact a licensed electrician.
Step-by-Step Installation and Setup of a 12 Keys Industrial Outdoor Keypad

Mounting the Keypad Securely
Start by holding the keypad against the wall where you want to install it. Use a pencil to mark the spots for the screws. Make sure the keypad sits straight and at a height that is easy to reach. Drill holes at the marked spots. Insert wall anchors if you mount the keypad on brick or concrete. Place the keypad over the holes and use screws to secure it tightly. Check that the keypad does not move or wobble.
Tip: Use a level to make sure your keypad is straight before you drill.
Wiring and Power Connections
Look at the wiring diagram in your user manual. Identify each wire by its color and label. Most 12 Keys Industrial Outdoor Keypad models use wires for power, ground, and signal. Strip the ends of each wire. Connect the power wires to the power supply. Attach the signal wires to the access control panel or door lock. Use wire nuts or terminal blocks for secure connections. Wrap exposed wires with electrical tape to prevent short circuits.
- Double-check each connection before turning on the power.
- Use a multimeter to test for correct voltage.
Note: Always keep the power off while you connect wires.
Programming User Codes and Access Settings
Turn on the power after you finish wiring. Follow the instructions in your keypad manual to enter programming mode. Set a master code first. Add user codes for each person who needs access. Some keypads let you set different levels of access or time limits for each code. Save your settings before you exit programming mode.
- Write down the master code and store it in a safe place.
- Test each user code to make sure it works.
Testing the Keypad and Lock Mechanism
Test the keypad by entering a valid user code. Listen for a click or watch for the door to unlock. Try a few different codes to check if the keypad accepts and rejects them correctly. Lock and unlock the door several times. Make sure the lock responds every time.
Alert: If the lock does not work, check your wiring and power connections.
Troubleshooting and Common Issues
If your 12 Keys Industrial Outdoor Keypad does not work, check these common problems:
- The keypad does not power on: Check the power supply and wiring.
- The lock does not respond: Make sure the signal wires connect to the right terminals.
- Some keys do not work: Clean the keypad and check for stuck buttons.
- Codes do not program: Reset the keypad and try again.
Tip: Use your user manual’s troubleshooting guide for more help.
Integrating with Other Security Systems
You can connect your keypad to alarms, cameras, or other security devices. Use the relay outputs or signal wires on the keypad. Follow the wiring diagrams for each device. Test the system after you connect everything. Make sure the keypad triggers the other devices as expected.
- Label each wire to avoid confusion.
- Keep all manuals handy for reference.
Maintenance and Care
Check your keypad every month. Clean the buttons with a soft, damp cloth. Look for loose screws or wires. Test all user codes and the lock. Replace batteries or power supplies as needed. Keep the area around the keypad clear of dirt and debris.
Note: Regular maintenance helps your 12 Keys Industrial Outdoor Keypad last longer and work better.
You can install a 12 Keys Industrial Outdoor Keypad by following each step carefully. Always read the manual and use safety gear. Test your keypad often to keep your access control system secure. Regular cleaning and checks help your keypad work well for a long time.
FAQ
How do you reset your 12 Keys Industrial Outdoor Keypad?
Press and hold the reset button for 10 seconds. The keypad will beep. All codes return to factory settings.
Can you install the keypad in rainy or snowy areas?
You can install it outdoors. Make sure the keypad has a weatherproof rating like IP65. Use a cover for extra protection.
What should you do if the keypad buttons stop working?
- Clean the keypad with a soft cloth.
- Check for stuck buttons.
- If problems continue, contact customer support.


